
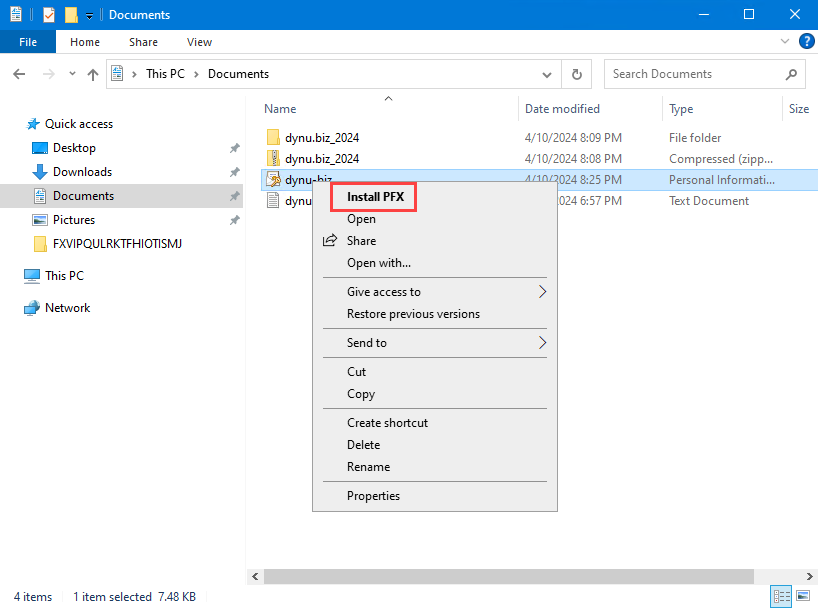
Step 1: Locate PFX file
Locate the .pfx (PKCS#12) file on your server and right-click it. Click Install PFX to open the Certificate Import Wizard. The Certificate Import Wizard control panel will open in the center window.
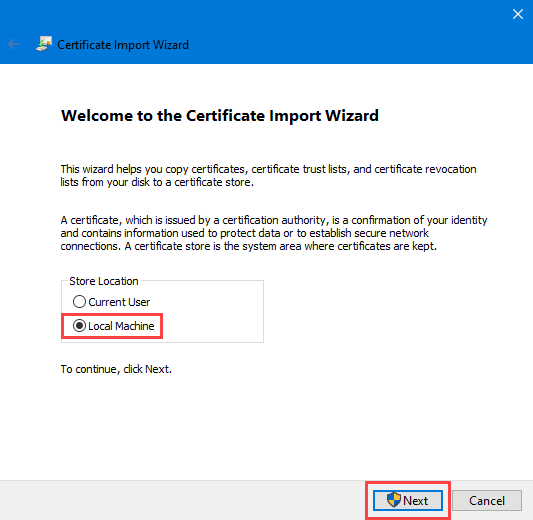
Step 2: Certificate Import Wizard
Choose Local Machine and click the Next button.
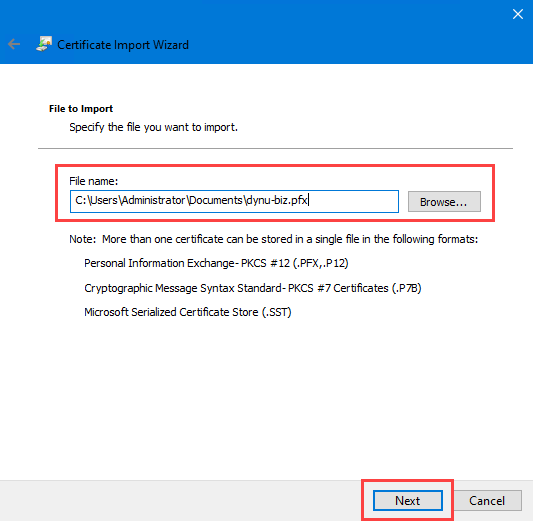
On the File to import window, confirm that the File name field has the correct .pfx file name and location and then click the Next button.
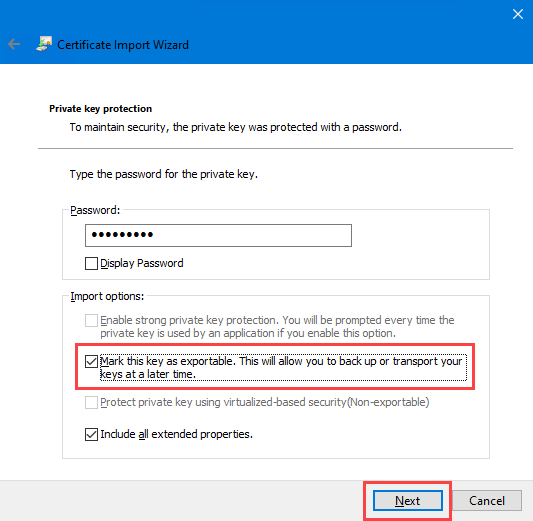
On the Private key protection window, enter the password for the private key if you had setup a password when creating the .pfx file. Please leave the password field empty if the PKCS#12 (.pfx) is not password protected. Check the Mark this key as exportable. checkbox if you plan to export the .pfx file from this server in the future including the private key. If you do not choose this option, you will not be able to export the private key as part of the .pfx file from this server.
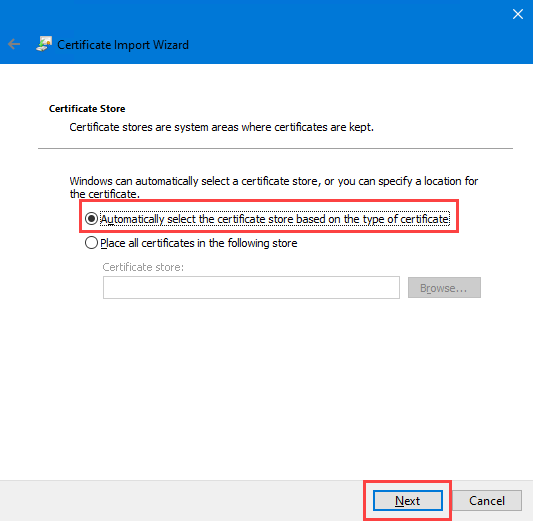
On the Certificate Store window, click the Next button to proceed.
On the Completing the Certificate Import Wizard window, confirm the details of the import settings and click the Finish button.

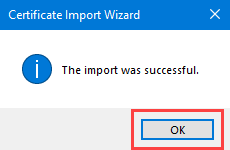
You should receive a The import was successful message.
You should now be able to use the newly imported SSL cerificate on the server.